Service Areas · Garden Grove, CA
Commercial Roofing on the Lincoln Avenue Corridor, Cypress, CA
Lincoln Avenue Corridor, Cypress
Commercial roof inspections and repairs along Cypress’s Lincoln Avenue corridor. Plan work for neighborhood businesses with clear access and repair limits.
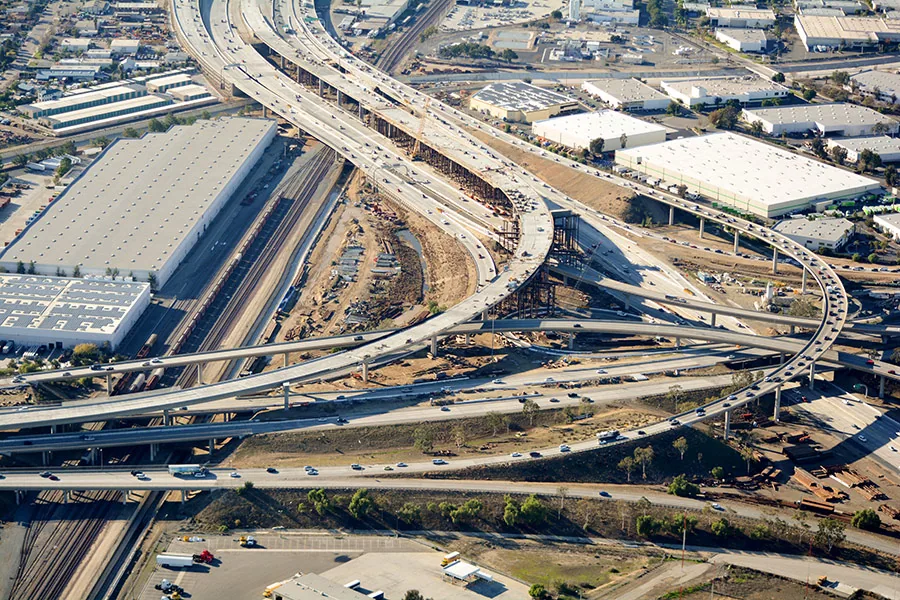
Lincoln Avenue connects neighborhood commercial centers with established Cypress neighborhoods, while southern Cypress has business-park development opportunities. That mix can bring active storefront circulation beside changing project access. Before choosing a repair, we confirm the building’s tenants, roof assembly, drainage route, and access limits at the property. If staging or delivery routes shift with adjacent work, we agree on a safe path and daily closeout with the manager.
We begin by tracing the reported leak across the actual roof, checking seams, terminations, drains, curbs, and changes in slope. The inspection records where the membrane is open, where water may be traveling, and which areas need testing. At a neighborhood commercial center, delivery access and tenant hours can shape the work window; at another parcel, a mechanical shutdown may be the key constraint. The written scope reflects that building rather than borrowing assumptions from another property on Lincoln Avenue.
Inspect the Roof That Serves the Business Below
Start with the interior report and establish when the water appeared, which room is affected, and whether equipment or another trade recently changed the roof. We compare that information with the roof plan and inspect the closest seams, penetrations, wall transitions, drains, and overflow paths. A ceiling mark can sit away from the opening because water follows a deck or insulation layer. Photographs should identify the roof zone and show enough surrounding detail to locate the failure during repair.
For a neighborhood center, we note shared walls, tenant boundaries, access routes, and any rooftop feature that could affect staging. We identify the roof system from accessible labels, edge details, maintenance records, and visible seams before choosing a repair product. If an area is blocked by equipment or safety limits, the report says what was not reached and how that affects the recommendation. A roof inspection should give a manager usable findings, not a broad list of defects without locations or next steps.
Mark a Repair Limit That Can Be Checked Later
At a membrane seam, we check the lap beyond the visible split and prepare a surface that can receive a compatible repair. At a parapet or equipment curb, we follow the termination and flashing transition until the water path is closed. The scope identifies the roof zone, product type, preparation, repair boundary, and stopping point. When an opening reveals wet insulation or a deteriorated deck, document the condition and get approval before adding removal or replacement to the work.
A short-term cover can protect the interior while a permanent scope is prepared, but the record should label it as temporary and state what remains. If several patches have accumulated along one roof edge, look for a shared detail or drainage issue before repeating the same treatment. Our leak repair assessment can locate the entry condition, while drain and scupper work addresses an obstructed water route. Compare recurring repair needs with a replacement evaluation when the failure extends across multiple zones.
Confirm the System Before Choosing a Product
Before a repair material is selected, we check the existing membrane, coating, edge metal, and prior patches for compatibility. TPO, PVC, EPDM, modified bitumen, built-up, and metal roofs use different seams and transitions. Records can help identify a system, but a test may be needed if the surface has been coated or recovered. The proposal should specify the treatment that bonds to the existing assembly and explain any preparation needed at the tie-in.
A coating is not a fix for trapped water, soft insulation, weak seams, or a failing deck. A recover also needs a review of drainage, edges, and added load before it is considered. If the roof has been repaired in several stages, map the existing layers and transitions instead of treating the whole field as uniform. A restoration review can identify areas suited to coating, and a EPDM roof system or a standing-seam assembly should be evaluated only for a scope where that construction fits.
Coordinate the Work With Center Hours
Before work starts, confirm roof access, fall-protection requirements, staging, deliveries, customer entrances, and any areas where a truck or lift cannot stand. For a property with several occupants, give each contact the schedule and identify the space below the work. If a repair requires a test opening, agree on the daily dry-in plan and the person who can approve a wider repair if the deck or insulation is damaged.
With shops near established neighborhoods, protect customer paths and coordinate tenant notices before lifting or staging materials. We schedule by roof zone, state when noise or temporary access changes are expected, and close exposed sections at the end of each shift. For a larger reroof, a phased work plan can align the sequence with business hours and loading needs. Keep the crew’s staging path separate from customer routes wherever the site layout allows, and tell the property contact when weather may shift the daily sequence.
Use the Next Visit to Check the Same Details
Close out with a roof-zone label, close and wide photographs, preparation notes, materials, date, and any condition left for follow-up. If the repair changed a curb, drain, edge, or parapet termination, mark that detail on the roof plan. Save the record with leak logs and invoices. After a sign installer, mechanical crew, or other trade cuts through the surface, photograph the new transition and revise the roof sketch before the next maintenance cycle.
Maintenance should focus on working drains, sound laps, attached edge metal, and penetrations that have changed since the last roof walk. Document cleared debris or replaced sealant so the owner can compare future findings. Work in the Cypress Business Park needs its own site contact, access plan, and roof condition record. If a portfolio extends to Brookhurst Triangle, arrange a separate inspection and track its repair history independently. Keep each inspection’s photos, repairs, and warranty details tied to the address actually reviewed. Before winter work, clear outlets and overflow routes, stage temporary dry-in materials, and confirm who can approve a secure stop if rain interrupts a test opening. Check current conditions before opening the membrane, then verify the drains again at closeout.
At closeout, photograph each repaired transition and confirm the hatch and staging route are clear.
Commercial Roofing Questions
What makes a roof inspection useful for a neighborhood commercial center?
It connects each interior report to a roof zone, records the assembly and nearby details, and identifies access limits or testing needs. That gives the owner a repair boundary and a clear next decision.
Can a ceiling stain be assigned to the nearest roof penetration?
Not without tracing the route. We inspect the area around the room and check seams, walls, curbs, and drains because water can travel before it becomes visible indoors.
How do you handle a repair when the roof material is unclear?
We review available labels, records, edge details, and patches. If the tie-in still cannot be confirmed, a sample or test can establish compatibility before a permanent material is applied.
Can the work be scheduled outside customer hours?
We can plan roof-zone access around business hours and delivery windows when the site allows it. The property contact helps confirm staging, noise limits, interior protection, and the daily closeout time.
When should a manager compare repair with replacement?
A comparison is useful when failures repeat across roof zones, removal exposes wet materials, or a local repair no longer closes the whole water path. We document those conditions and price a defined alternative.

Schedule a Lincoln Avenue roof review
Send the building location, roof plan, leak notes, and access requirements. We will inspect the roof details, document the repair boundary, and prepare a scope suited to the property’s operations.
Or call 555-555-5555 · [email protected]